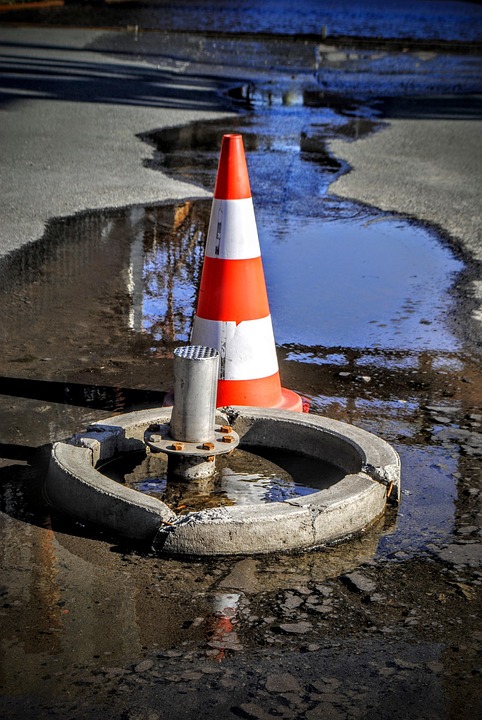
Pipe Patch-Up: A Temporary Fix for a Burst Pipe
A burst pipe can be a nightmare for any homeowner. The sudden gush of water can cause extensive damage to your property, leading to costly repairs and a significant disruption to your daily life. While it’s essential to call a professional plumber to fix the pipe permanently, there are temporary measures you can take to minimize the damage and prevent further water leakage. In this article, we’ll guide you through the process of patching up a burst pipe, a temporary fix that can help you stay safe and dry until a professional can arrive.
Assess the Situation
Before you start patching up the pipe, it’s crucial to assess the situation and take necessary safety precautions. Turn off the main water supply to your home to prevent further water flow. If you’re not sure where the shut-off valve is located, you can usually find it near the water meter or where the water line enters your home. Open the faucet nearest to the burst pipe to drain the water from the pipe.
Gather Materials
To patch up a burst pipe, you’ll need a few basic materials:
- Epoxy putty or pipe repair clamp
- Rubber patch or pipe patch kit
- Pipe tape (Teflon or duct tape)
- Adjustable wrench or pipe wrench
- Safety gloves and goggles
Types of Pipe Patching Methods
There are several ways to patch up a burst pipe, depending on the location and severity of the damage. Here are a few common methods:
- Epoxy Putty Method: Apply epoxy putty to the damaged area, shaping it to fit the pipe’s contours. Let it dry according to the manufacturer’s instructions, usually several hours or overnight.
- Pipe Repair Clamp Method: Use a pipe repair clamp to wrap around the damaged area, tightening it securely to prevent further leakage.
- Rubber Patch Method: Cut a rubber patch to fit over the damaged area, securing it with pipe tape or a pipe repair clamp.
Step-by-Step Instructions
Here’s a step-by-step guide to patching up a burst pipe:
- Turn off the water supply: Locate the shut-off valve and turn it clockwise to shut off the water supply to your home.
- Drain the pipe: Open the faucet nearest to the burst pipe to drain the water from the pipe.
- Clean the area: Use a cloth or brush to clean the damaged area, removing any debris or dirt.
- Apply the patch: Choose your preferred patching method and apply the patch to the damaged area, following the manufacturer’s instructions.
- Secure the patch: Use pipe tape or a pipe repair clamp to secure the patch in place.
- Test the patch: Turn on the water supply and check the patch for any signs of leakage.
Important Safety Considerations
While patching up a burst pipe can provide a temporary fix, it’s essential to remember that it’s not a permanent solution. A burst pipe can be a sign of a more significant issue, such as corrosion, high water pressure, or poor pipe installation. To avoid further damage and ensure your safety:
- Do not use the patched pipe for an extended period, as it may burst again.
- Avoid using high water pressure or hot water, which can cause the patch to fail.
- Keep an eye on the patch for signs of leakage or failure.
- Call a professional plumber as soon as possible to assess and repair the pipe permanently.
Conclusion
Patching up a burst pipe can be a temporary solution to minimize damage and prevent further water leakage. However, it’s crucial to remember that a professional plumber should always be called to assess and repair the pipe permanently. By following the steps outlined in this article, you can take the necessary precautions to stay safe and dry until a professional can arrive. Remember, a burst pipe is a serious issue that requires prompt attention to prevent further damage and ensure your safety.