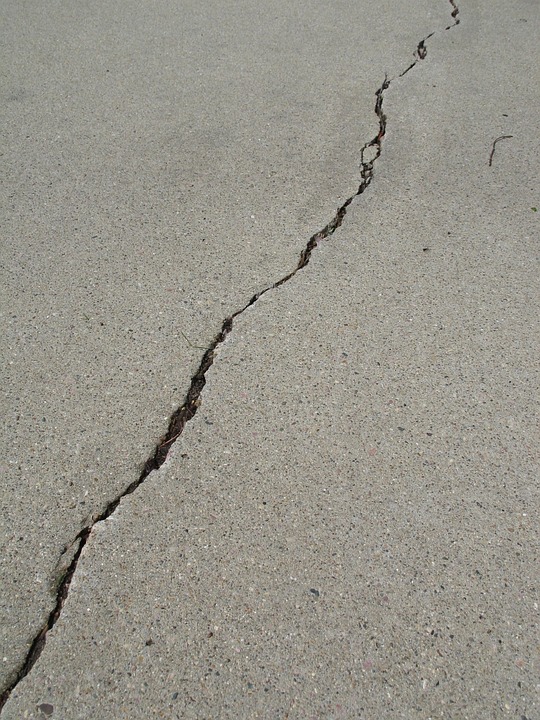
Fill ‘Er Up: A Step-by-Step Guide to Drywall Crack Repair
Drywall cracks can be a frustrating and unsightly problem in any home or office. Whether caused by settlement, water damage, or accidental holes, these cracks can compromise the integrity of your walls and create an eyesore that’s hard to ignore. Fortunately, repairing drywall cracks is a relatively simple process that can be completed with a few basic tools and some patience. In this article, we’ll walk you through a step-by-step guide to drywall crack repair, so you can fill ‘er up and get your walls looking like new again.
Gather Your Tools and Materials
Before you start, make sure you have the following tools and materials:
- Drywall joint compound (also known as spackling compound)
- Sandpaper ( medium-grit and fine-grit)
- Paintbrush or putty knife
- Drywall tape (if the crack is near a seam)
- Mud pan
- Water
- Optional: drywall repair kit, texture spray, or paint
Step 1: Clean the Area
Begin by cleaning the area around the crack with a vacuum cleaner or a damp cloth to remove any debris, dust, or dirt. This will help the repair compound adhere better to the drywall.
Step 2: Apply Joint Compound
Use a putty knife to apply a thin layer of joint compound to the crack. Press the compound firmly into the crack, making sure to fill it completely. If the crack is deep, you may need to apply multiple layers of compound, allowing each layer to dry before applying the next.
Step 3: Smooth Out the Compound
Use a putty knife or a sanding block to smooth out the compound, feathering it out towards the edges so that it blends in with the surrounding drywall. Make sure to apply even pressure to avoid creating air pockets or bubbles.
Step 4: Allow the Compound to Dry
Let the compound dry completely, according to the manufacturer’s instructions (usually 30 minutes to an hour, depending on the type of compound). If you’re using a fast-drying compound, you can speed up the process with a hair dryer on a low setting.
Step 5: Sand the Area
Once the compound is dry, use a medium-grit sandpaper to sand the area smooth. Sand in a circular motion, applying moderate pressure. Wipe away any dust or debris with a clean cloth.
Step 6: Apply Additional Coats (If Necessary)
If the crack is still visible after the first coat, you may need to apply additional coats of compound, allowing each coat to dry before sanding. Repeat steps 2-5 until the crack is completely filled and the area is smooth.
Step 7: Finish and Paint (Optional)
Once the area is smooth, you can apply a coat of paint or texture spray to match the surrounding area. If you’re using a drywall repair kit, follow the manufacturer’s instructions for applying the finish coat.
Tips and Tricks
- For hairline cracks, use a small brush to apply the compound, and then use a credit card or similar tool to smooth out the area.
- For larger cracks, use a putty knife to apply the compound, and then use a sanding block to smooth out the area.
- If the crack is near a seam, use drywall tape to reinforce the area before applying the compound.
- To avoid creating bubbles or air pockets, apply the compound in thin layers, and use a putty knife or sanding block to smooth out the area.
Conclusion
Drywall crack repair is a simple process that can be completed with a few basic tools and some patience. By following these steps, you can fill ‘er up and get your walls looking like new again. Remember to work carefully and patiently, and don’t be afraid to apply multiple coats of compound to achieve a smooth finish. With practice and experience, you’ll be a pro at drywall crack repair in no time!