Save Water, Save Money: How to Fix a Leaky Faucet Quickly and Easily
Are you tired of watching your hard-earned money go down the drain, literally? A leaky faucet can waste up to 20 gallons of water per day, which can add up to a significant amount on your water bill. Not only does it waste water, but it can also increase your energy costs if you have a water heater. In this article, we will show you how to fix a leaky faucet quickly and easily, saving you water and money in the long run.
Why Fix a Leaky Faucet?
Before we dive into the steps to fix a leaky faucet, let’s take a look at why it’s so important. A leaky faucet can:
- Waste up to 20 gallons of water per day
- Increase your water bill by up to 10%
- Raise your energy costs if you have a water heater
- Cause water damage and mold growth if left unchecked
- Attract pests and create an environment for bacteria growth
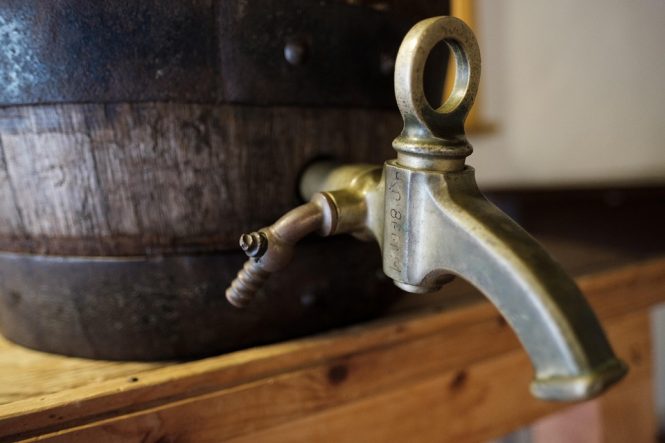
Tools and Materials Needed
To fix a leaky faucet, you’ll need a few basic tools and materials. These may vary depending on the type of faucet you have, but here are the essentials:
- Adjustable wrench or basin wrench
- Channel-type pliers (for removing old O-rings or gaskets)
- Needle-nose pliers (for reaching small spaces)
- Teflon tape or pipe dope
- Replacement O-rings or gaskets (if necessary)
- Faucet repair kit (optional)
Step-by-Step Guide to Fixing a Leaky Faucet
Fixing a leaky faucet is a relatively simple process that can be completed with basic DIY skills. Here’s a step-by-step guide:
- Turn off the water supply: Locate the shut-off valves under the sink and turn them clockwise to shut off the water supply to the faucet.
- Disassemble the faucet: Remove any visible screws or clips that hold the faucet handle in place. You may need to use an adjustable wrench or basin wrench to loosen any stubborn parts.
- Identify the source of the leak: Look for signs of water damage or mineral buildup to determine where the leak is coming from. Common areas where leaks occur include the O-rings, gaskets, or valve seats.
- Replace worn-out parts: Use channel-type pliers to remove old O-rings or gaskets. Inspect the valve seats and replace them if they’re damaged.
- Apply Teflon tape or pipe dope: Apply Teflon tape or pipe dope to the threads of the faucet to create a watertight seal.
- Reassemble the faucet: Put the faucet back together in the reverse order that you took it apart. Make sure all parts are securely tightened.
- Turn on the water supply: Turn the shut-off valves counterclockwise to restore water supply to the faucet.
- Test the faucet: Turn on the faucet to test for leaks. If the leak persists, you may need to replace the faucet or seek professional help.
Tips and Tricks
- To avoid future leaks, check your faucet regularly for signs of wear and tear.
- Use a faucet repair kit if you’re not comfortable with DIY repairs or if the leak is more complex.
- Consider replacing your faucet with a low-flow or touchless model to save water and reduce waste.
- If you’re not sure where to start, consult your faucet’s user manual or online resources for specific repair instructions.
Conclusion
Fixing a leaky faucet is a simple and cost-effective way to save water and money. By following these steps and tips, you can quickly and easily repair a leaky faucet and avoid wasting precious resources. Remember to regularly inspect your faucet and address any issues promptly to prevent water damage and mold growth. With a little DIY know-how, you can save water, save money, and enjoy a more efficient and sustainable plumbing system.