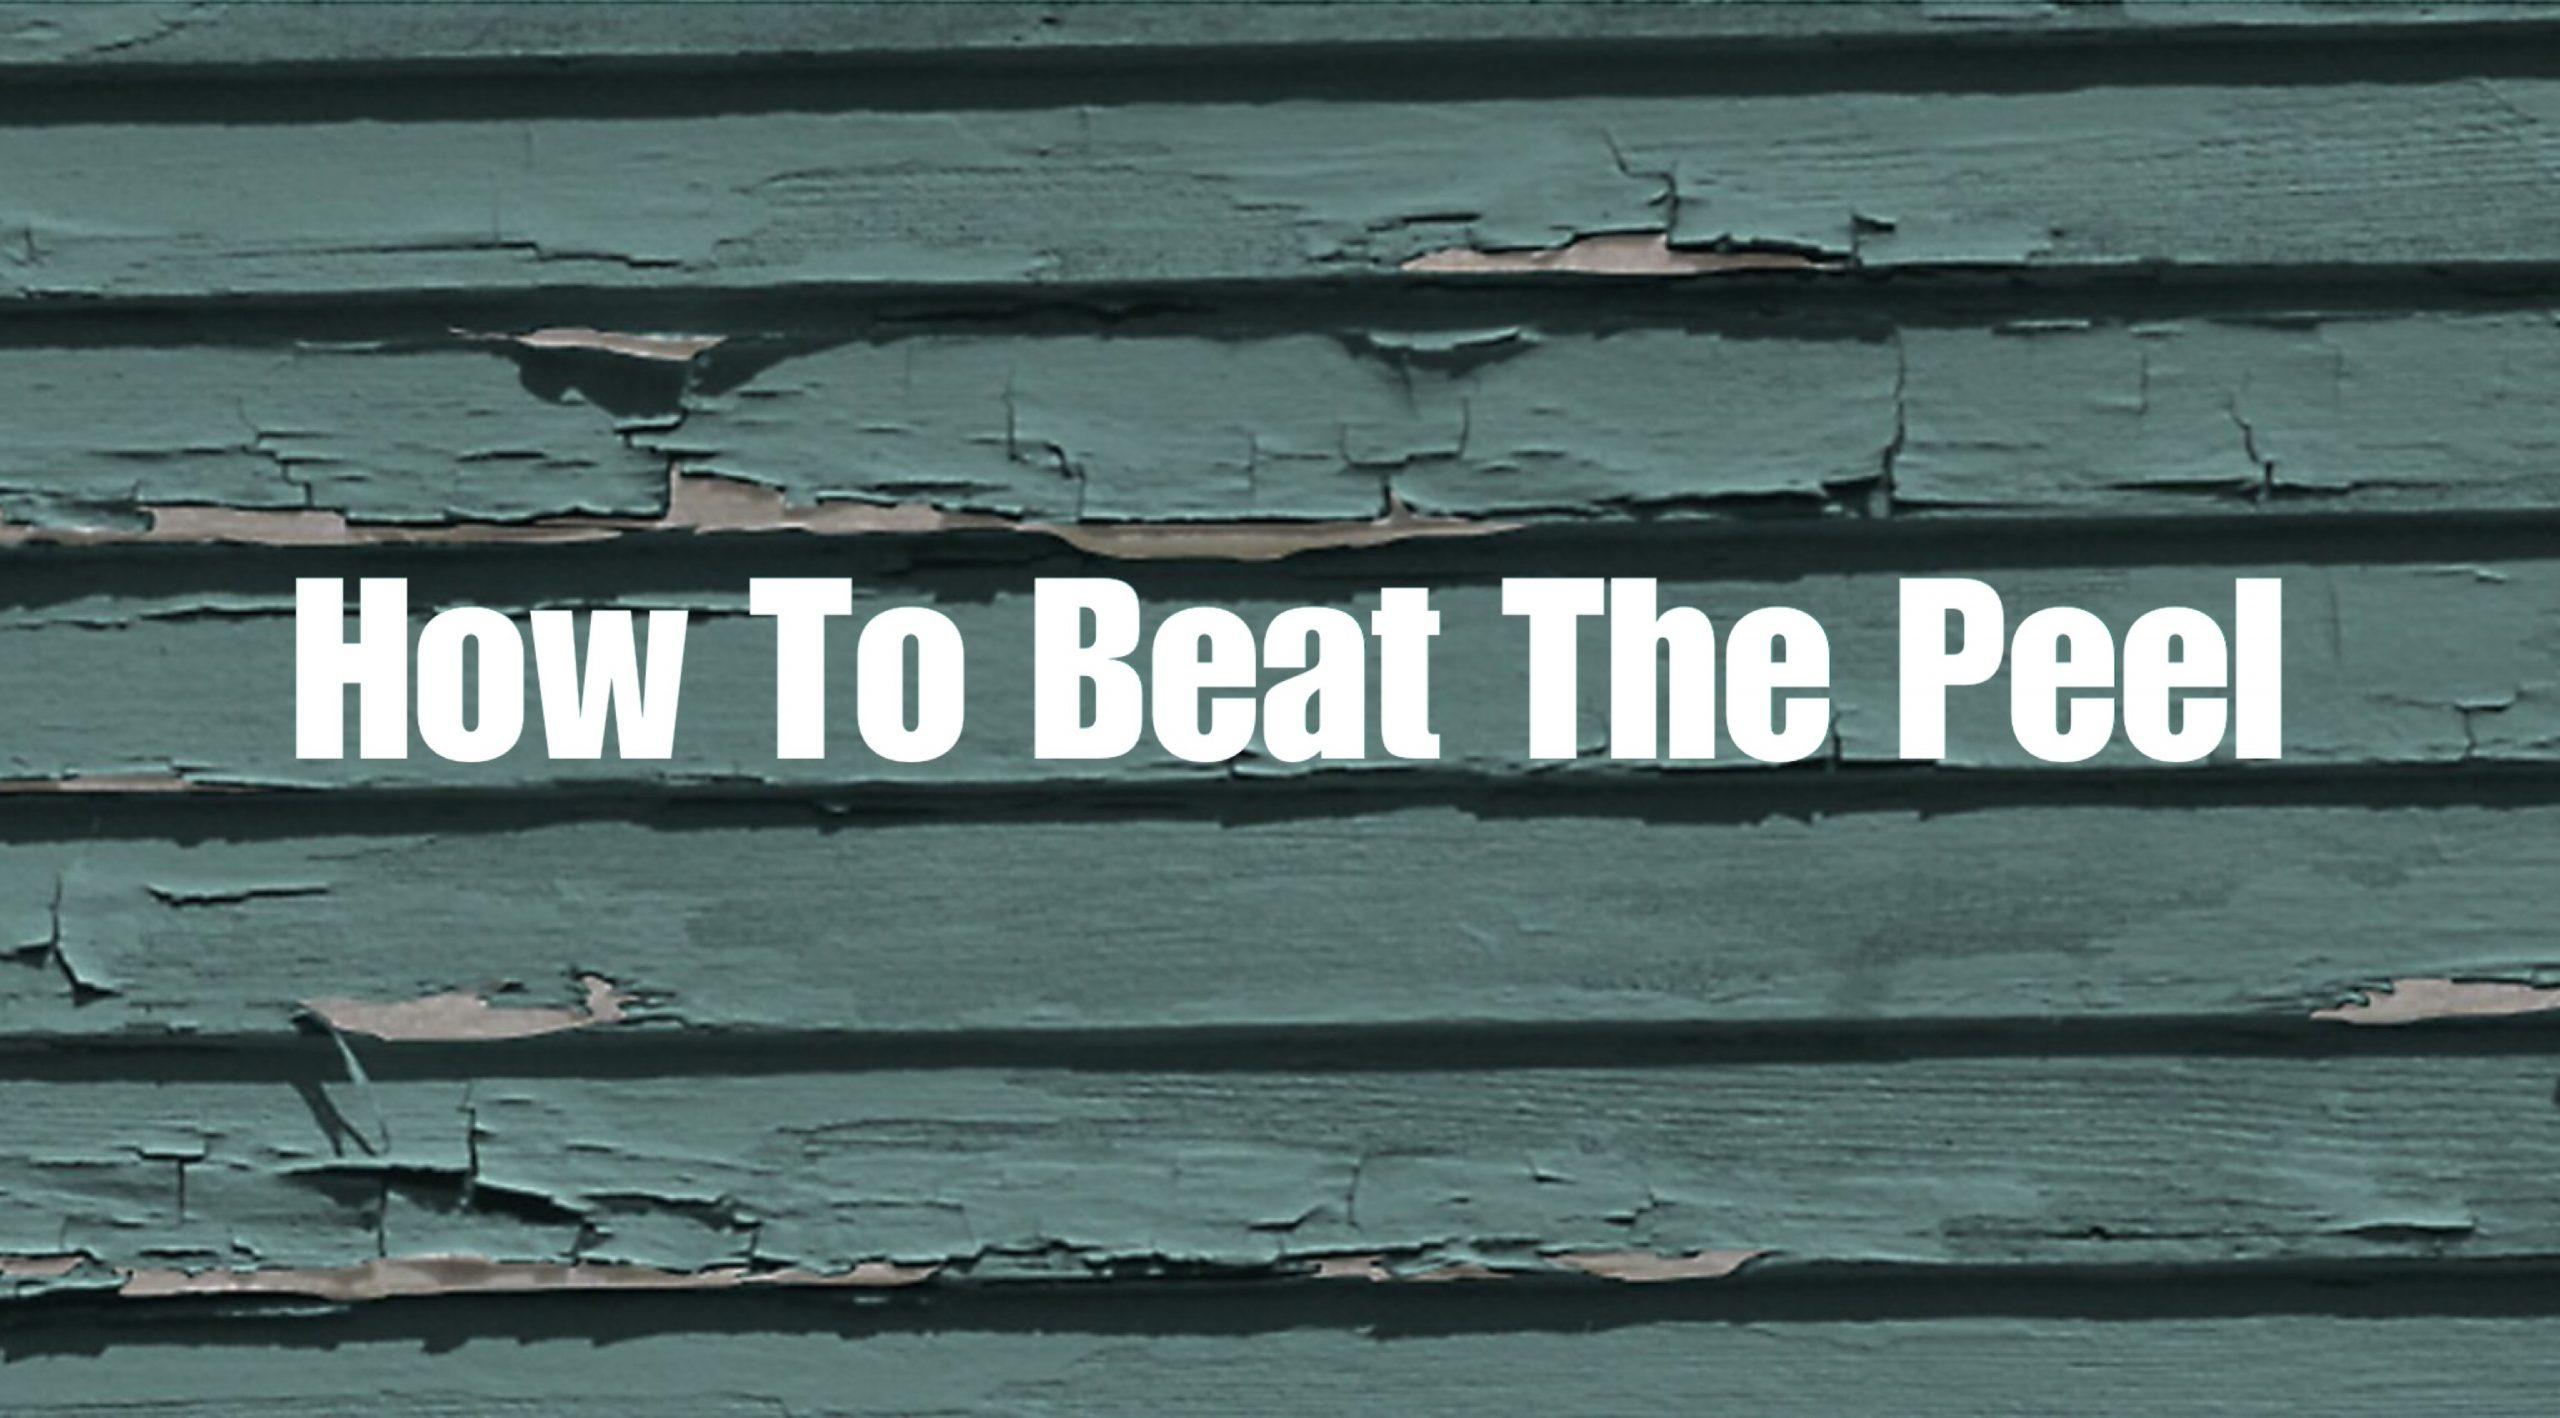
Peeling paint is a common problem that can mar any painting project. This thorough guide dives deep into the crucial process of peeling paint removal and surface preparation for a smooth and durable finish. We’ll cover everything from determineing the cause of peeling paint to achieving optimal paint adhesion. Whether you’re a seasoned DIY enthusiast or a homeowner tackling their first painting project, this guide offers practical solutions and actionable steps to overcome peeling paint issues. This article is structured as follows: first, we’ll examine the causes and types of peeling paint; then, we will discuss the process of effective peeling paint removal; finally, we’ll cover surface preparation techniques to ensure optimal paint adhesion. Each step is explained with examples, and we’ll emphasize the importance of selecting the right tools and materials.
Understanding the Causes of Peeling Paint
determineing the Root of the Problem
Peeling paint isn’t just an aesthetic concern; it indicates underlying issues with the surface preparation or the quality of the original paint job. Understanding the cause is the first step in effective removal. Often, improper surface preparation during the initial painting stage is the culprit. For instance, insufficient sanding or the use of inadequate primer can lead to paint failure, outcomeing in peeling. In some cases, moisture issues like leaks or condensation can cause paint to peel. Furthermore, using the wrong type of paint for the surface can lead to incompatibility and peeling. The quality of the paint itself plays a function; inferior products may not adhere well, leading to problems. Understanding these factors allows for targeted solutions and prevents future issues.
varied Types of Peeling Paint
Peeling paint can manifest in various ways. Some common types include bubbling, flaking, and scaling. Bubbling paint often appears as small air pockets beneath the paint’s surface, potentially caused by moisture issues or temperature fluctuations. Flaking paint involves loose, crumbly sections that can be easily removed, sometimes indicative of poor adhesion or incompatible paint products. Scaling is another form of peeling, where larger sections of paint detach, typically revealing the underlying surface beneath. Recognizing the specific type of peeling can help determine the optimal approach for removal.
Effective Peeling Paint Removal Techniques
Related Post : do it yourself repair shop
Assessing the Extent of the Damage
Before commencing the peeling paint removal process, a thorough assessment of the affected area is essential. This includes determining the extent of the peeling, determineing any underlying issues that may have contributed to the problem, and choosing the right approach for specific paint types. Consider the surface type – wood, metal, or concrete – as varied materials require varied removal methods. For instance, paint on wood might need a gentle approach to avoid damage to the wood surface, whereas metal might tolerate a more aggressive method. By understanding the exact damage, you can tailor your process accordingly. Using the appropriate tools, and having a suitable approach based on the extent of peeling, will significantly impact the efficiency and achievement of the process.
Mechanical and Chemical Removal Methods
Various methods can be used for peeling paint removal, each with its own benefits and disbenefits. Mechanical methods include scraping, sanding, and power tools like paint scrapers, which are effective for removing significant layers of peeling paint. However, these methods may potentially damage the underlying surface, especially on delicate surfaces. Chemical methods, employing specialized paint strippers, are an alternative. These strippers dissolve the paint, making it easier to remove. Chemical strippers should be used with caution and followed strictly as per instructions on the product label to prevent damage to the surface and ensure personal safety.
Preparing Surfaces for Optimal Paint Adhesion
Thorough Cleaning and Preparation
Once the peeling paint is removed, the surface must be thoroughly cleaned and prepped to ensure optimal paint adhesion. This step is just as crucial as the removal itself. Cleaning the surface thoroughly removes any residual dust, dirt, or debris that might hinder proper paint adhesion. This includes using cleaning agents designed for painting surfaces to eliminate any contaminants effectively, leaving the surface clean and ready for priming. The surface should be completely dry before the next steps. This process minimizes the risk of uneven paint and other issues down the line. In summary, thorough cleaning ensures a smooth application and a durable, lasting paint job.
Priming and Sealing the Surface
Priming is essential for creating a smooth, uniform surface and increasing the overall durability of the finished paint job. Primer creates a uniform surface that will be compatible with the top paint coat. Choosing the appropriate primer for the surface type is essential – selecting one suitable for the material ensures long-term durability and prevents future peeling issues. Moreover, proper sealing techniques, like using a sealant or a bonding agent, can aid the paint in adhering firmly to the surface, minimizing the risk of future issues and protecting the surface from moisture penetration. The primer helps prevent any future paint issues.
Additional Considerations for Professional outcomes
selecting the Right Tools and Materials
The right tools and materials can make a substantial difference in the quality of your work. Choosing appropriate paint scrapers and sanding tools is crucial. Using the correct tools ensures efficient peeling paint removal. selecting high-quality paint and primer based on the specific surface type is crucial to ensure optimal adhesion and long-term durability. Additionally, using appropriate safety gear like gloves, masks, and eye protection is crucial for protecting yourself and your health during the process. The use of the right tools and materials will impact the efficiency and quality of the overall work.
Safety Precautions
Safety is paramount when working with paint removers and power tools. Always follow the instructions offerd by the manufacturer on each product label when handling chemicals and ensuring proper ventilation is available. Be sure to wear appropriate protective gear, and always inspect the work area to ensure proper ventilation. Proper ventilation helps prevent harmful fumes from building up. These practices not only protect your health but also contribute to minimizing the risk of potential accidents and ensure a more controlled, safe environment throughout the project.
Painting Techniques for Optimal Finish
Application Techniques for Smooth outcomes
Once the surface is prepped, applying the paint itself requires a deft touch. For optimal outcomes, consider using proper application techniques, ensuring even coverage and minimizing runs or drips. Applying thin coats ensures even drying and reduces the risk of problems. Using the right tools like brushes, rollers, or sprayers is key to maintaining consistency in the application. Utilizing quality paint rollers, in combination with paint brushes to reach areas rollers might not, will help avoid any uneven application. Experiment with varied techniques to find what works optimal for your project.
Choosing the Right Paint for the Surface
The right paint type makes a significant impact on the durability of the finished product. Understanding the specific characteristics of varied paints like latex, oil-based, or specialized paints for particular surfaces ensures that the right type is used to prevent future problems. The correct paint ensures optimal longevity and minimizes the likelihood of the paint job needing future touch-ups. Consider factors like moisture resistance and UV protection when selecting a paint for durability. Using the proper type ensures optimal adhesion.
In conclusion, prepping surfaces for painting with a thorough peeling paint removal process is crucial for a smooth and durable finish. Proper preparation ensures the paint adheres well, maximizing the longevity and aesthetic appeal of your project. By following the steps outlined in this guide, you can save time, money, and frustration, ensuring a professional-looking outcome. For more detailed guidance and personalized advice, consider scheduling a consultation with a certified painting professional. Contact us today for a complimentary quote!