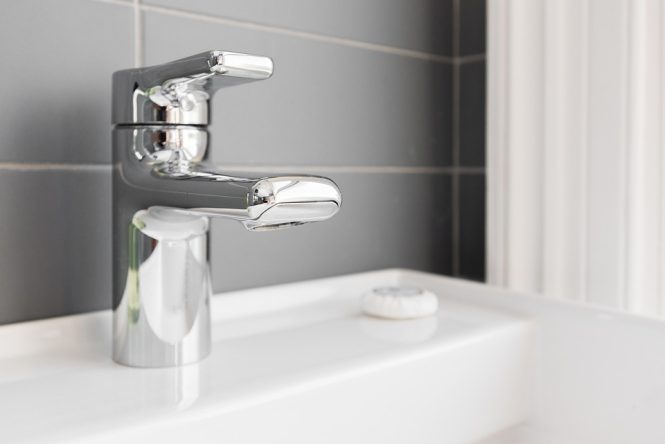
From Drip to Dry: The Ultimate Guide to Fixing a Leaky Faucet
Are you tired of the constant sound of dripping water and the wasted money that comes with it? A leaky faucet can be a frustrating and costly problem, but it’s also a relatively easy one to fix. In this article, we’ll take you through the step-by-step process of identifying and repairing a leaky faucet, so you can say goodbye to those pesky drips and hello to a dry, stress-free kitchen or bathroom.
Why Fix a Leaky Faucet?
Before we dive into the nitty-gritty of fixing a leaky faucet, let’s talk about why it’s so important. A single dripping faucet can waste up to 20 gallons of water per day, which can add up to a significant amount of money on your water bill over time. Not to mention the environmental impact of wasting all that water! Additionally, a leaky faucet can also cause damage to your sink, countertops, and surrounding surfaces, leading to costly repairs down the line.
Identifying the Source of the Leak
The first step in fixing a leaky faucet is to identify the source of the leak. There are several common areas where leaks can occur, including:
- The faucet handle or stem
- The O-rings or gaskets
- The valve seat or cartridge
- The faucet’s aerator or screen
To determine where the leak is coming from, turn off the water supply to the faucet and then turn on the faucet to drain the water from the pipes. Next, use a wrench or pliers to remove any visible parts, such as the handle or aerator, and inspect the area for signs of moisture or mineral buildup. You can also use a flashlight to shine a light into the faucet’s inner workings to help you see where the leak is coming from.
Tools and Materials Needed
Before you start fixing your leaky faucet, make sure you have the following tools and materials on hand:
- Adjustable wrench or basin wrench
- Channel-type pliers (for removing old O-rings or gaskets)
- Needle-nose pliers (for reaching into tight spaces)
- Teflon tape or pipe dope (for sealing threaded connections)
- Replacement O-rings or gaskets
- Replacement valve seat or cartridge (if necessary)
- Faucet aerator or screen (if necessary)
Step-by-Step Repair Guide
Now that you’ve identified the source of the leak and gathered your tools and materials, it’s time to start repairing your faucet. Here’s a step-by-step guide to follow:
- Disassemble the Faucet: Use your wrench or pliers to remove the handle, stem, and any other visible parts. Be careful not to damage any of the surrounding surfaces or pipes.
- Remove Old O-Rings or Gaskets: Use your channel-type pliers to remove any old O-rings or gaskets that may be causing the leak. Be sure to inspect the area carefully to ensure you’ve removed all of the old material.
- Clean and Inspect the Area: Use a soft cloth or brush to clean the area around the leak, removing any mineral buildup or debris. Inspect the area carefully to ensure there are no other signs of damage or wear.
- Replace O-Rings or Gaskets: Use your needle-nose pliers to install new O-rings or gaskets, making sure they’re properly seated and aligned.
- Reassemble the Faucet: Use your wrench or pliers to reassemble the faucet, making sure all parts are securely tightened.
- Test the Faucet: Turn on the water supply and test the faucet to ensure the leak is fixed.
Common Issues and Solutions
Here are some common issues you may encounter when fixing a leaky faucet, along with some solutions to help you troubleshoot:
- Leak at the Base of the Faucet: This is often caused by a worn-out O-ring or gasket. Replace the O-ring or gasket and reassemble the faucet.
- Leak at the Handle: This is often caused by a loose or worn-out handle. Tighten the handle or replace it if necessary.
- Leak at the Aerator: This is often caused by a clogged or dirty aerator. Remove the aerator and clean or replace it as needed.
Conclusion
Fixing a leaky faucet is a relatively simple and cost-effective process that can save you money and reduce your environmental impact. By following the steps outlined in this guide, you should be able to identify and repair the source of the leak, and have your faucet working like new in no time. Remember to always turn off the water supply before starting any repairs, and to use the right tools and materials to ensure a secure and watertight seal. Happy fixing!