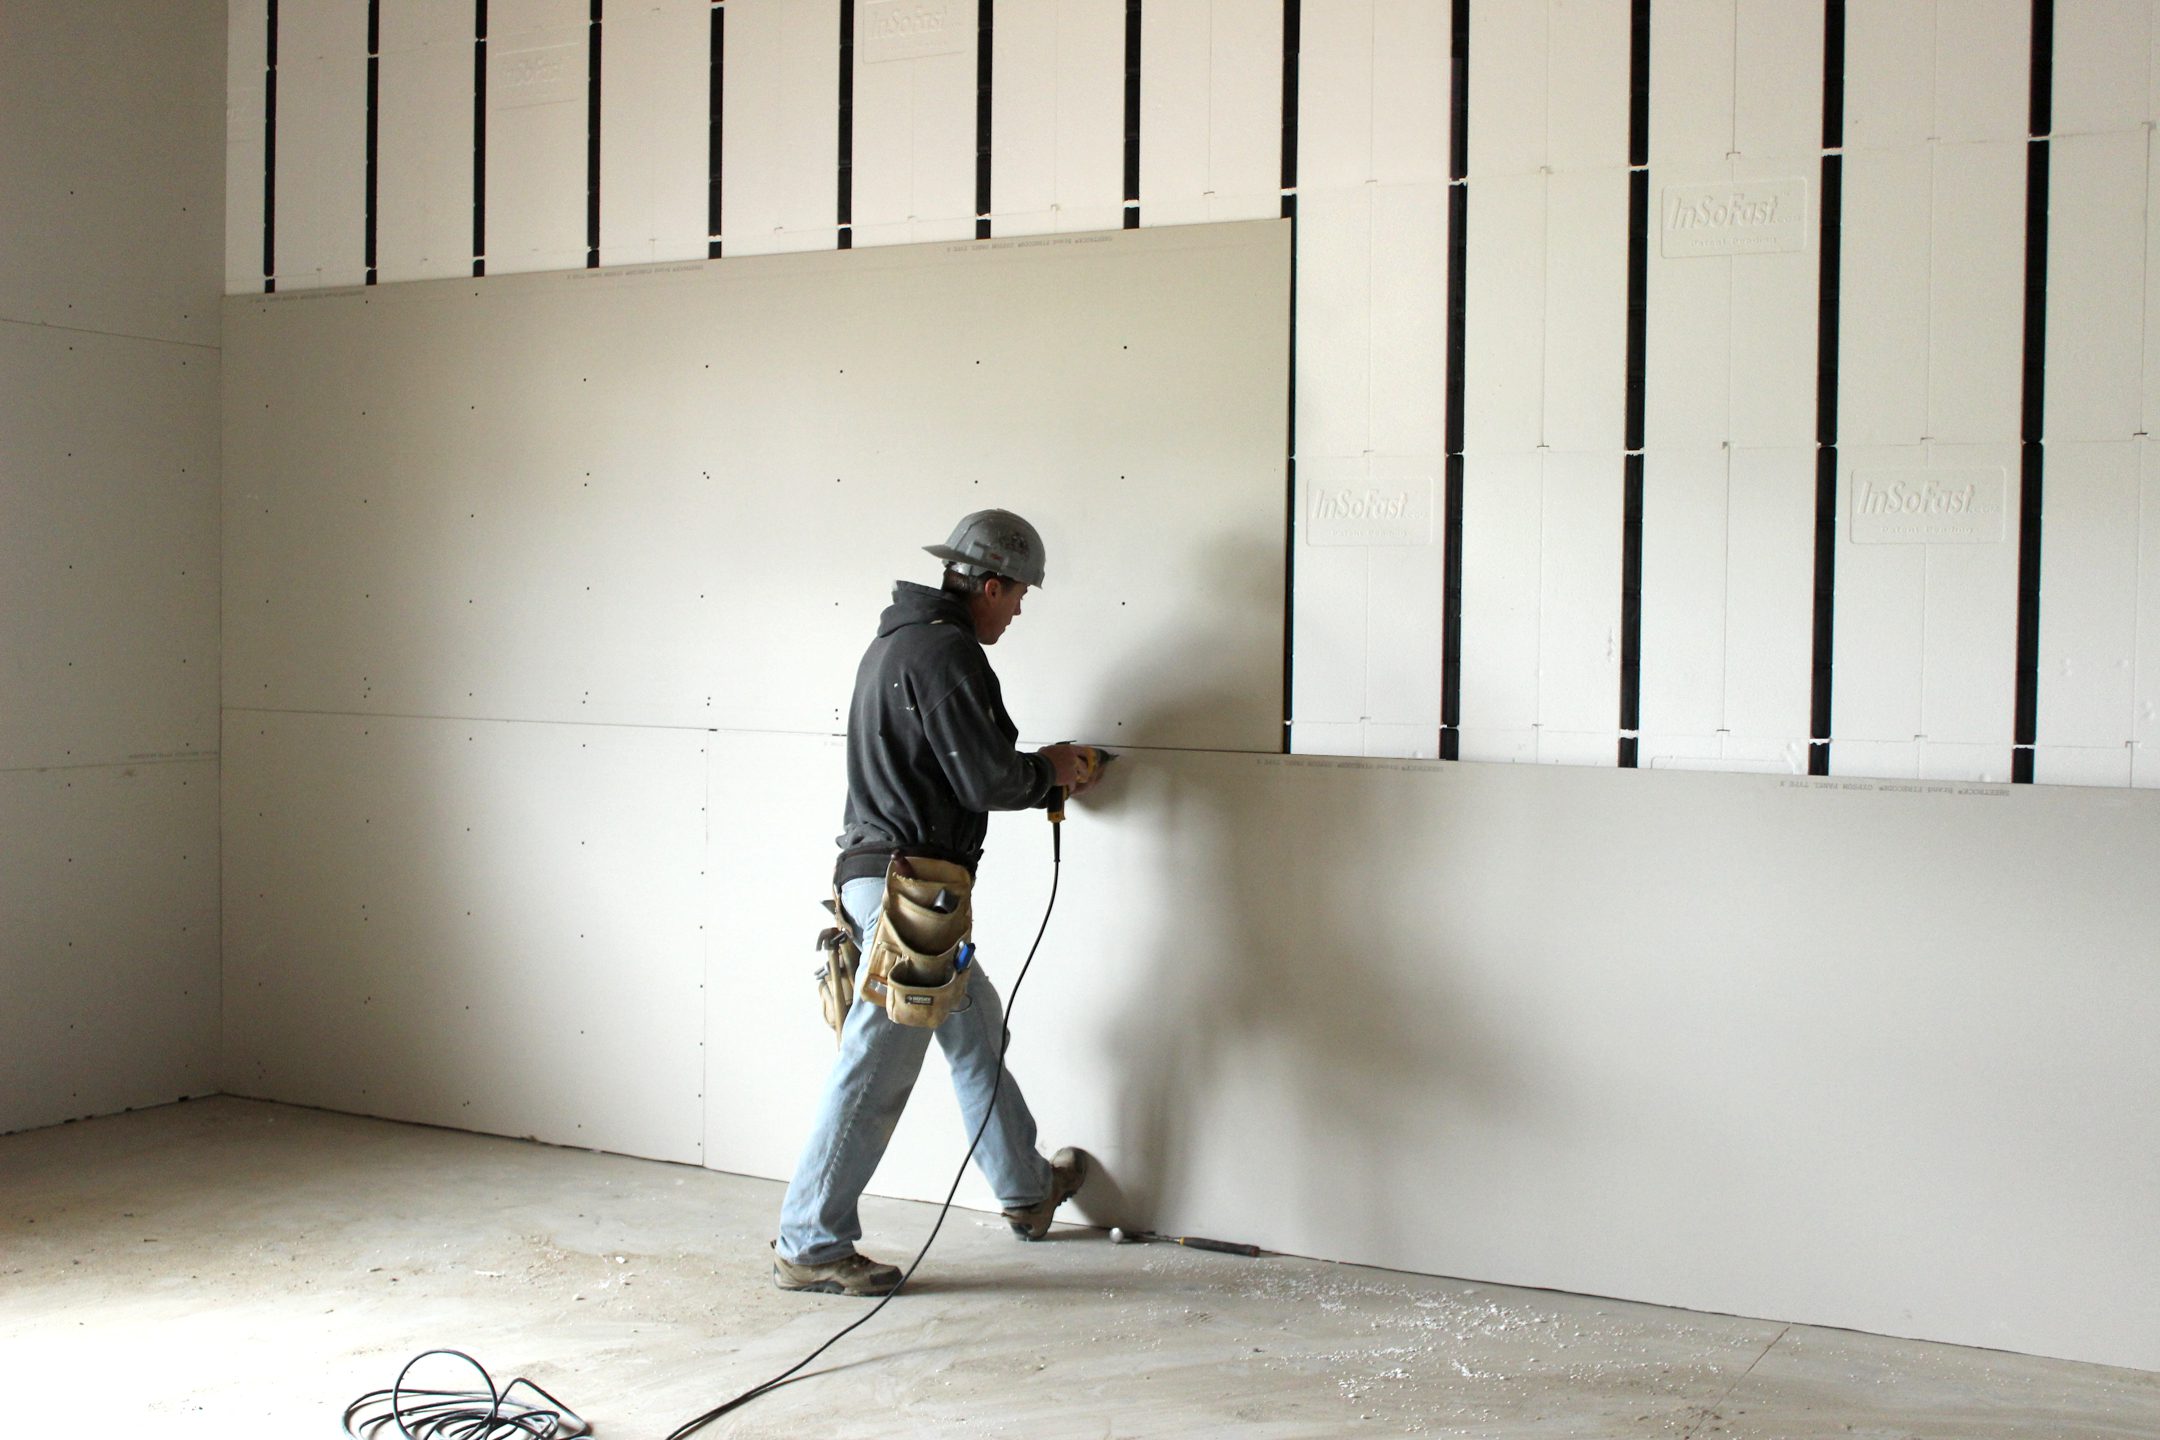
Drywall disasters—holes, cracks, and imperfections—can quickly turn a room from inviting to frustrating. But don’t worry! This thorough guide, “Drywall Disasters: Patching Holes and Imperfections Seamlessly,” will empower you to tackle these common problems with confidence. We’ll delve into effective techniques, the right tools, and step-by-step instructions, leaving you with a beautifully repaired wall. This guide will walk you through choosing the right materials, preparing the surface, applying the patch, and finishing the repair for a seamless outcome. We’ll cover various scenarios, including small holes, large cracks, and even major damage. Let’s get started!
determineing the Problem and Choosing the Right Approach
Understanding Drywall Damage
Drywall damage comes in many forms. Small holes from picture hooks, large gouges from misplaced furniture, or even cracks from shifting walls—each requires a specific approach. Understanding the type of damage is crucial for selecting the correct patching technique. For example, a small hole from a picture hook can be easily concealed with a simple patch, while a large crack might necessitate a more extensive repair. Ignoring the extent of the damage can lead to further complications down the line, possibly requiring more materials and a lengthier process.
Assessing the Severity of Damage
Before you begin patching, assess the damage thoroughly. Determine the size, shape, and depth of the hole or crack. This step is vital for choosing the appropriate repair method. Are you dealing with a small imperfection or a significant tear? Proper assessment allows you to select the correct patching material and technique, and ensures the repair will hold up over time.
Gathering Necessary Materials
Once you’ve assessed the damage, gather the necessary supplies. This includes drywall patch, spackle, sandpaper, a putty knife, and a utility knife. Depending on the size of the damage, you may also need a drywall saw or other specialized tools. Careful planning will save you time and frustration later in the project.
Preparing the Surface for a Seamless Repair
Cleaning and Removing Debris
Before applying any patch, thoroughly clean the area around the damage. Remove any loose debris, dust, or old patching material. A clean surface ensures proper adhesion and prevents future problems. This step is crucial; a dirty or dusty surface prevents the new patch from bonding properly, leading to potential re-damage.
Related Post : do interior designers charge
Repairing Large Cracks
Larger cracks might require more extensive repairs. This could involve creating a slight lip to the crack to secure the patch more effectively. Using a drywall saw, you can cut away any loose pieces around the crack, creating a more stable base for the repair. If needed, use a utility knife to remove excess material for a clean cut. This step is crucial for a durable and lasting repair. Ensure a clean, even cut for the most effective repair.
Applying the Patch and Finishing Touches
Choosing the Right Patch Size
select a patch that is slightly larger than the damaged area. This offers coverage and ensures proper adhesion. Overlapping the patch slightly allows for easier trimming and smoothing of the repair later. Overlapping is crucial for a good, durable fix. A patch that is too small will be inadequate and will not cover the entire problem.
Smoothing the Patch and Finishing
Once the patch is in place, use a putty knife to spread spackle evenly over the patch. Smooth out the spackle to match the surrounding drywall. Let the spackle dry completely before sanding. Proper smoothing prevents bumps and gaps that could be visible after the repair, ensuring a flawless, seamless outcome. Using the right technique is crucial to getting a professional look. Use small, circular motions to avoid creating any indentations. Use small, gentle strokes and avoid pressing too hard.
Common Challenges and Troubleshooting
Handling Moisture Problems
Moisture can often cause severe drywall damage, leading to mold and mildew issues. Make sure you address these problems first; neglecting moisture can cause significant and ongoing problems. Consult a professional if you’re unsure how to handle moisture-related problems.
Repairing Large Holes
For larger holes, use multiple layers of drywall patch, working in thin layers to allow each layer to dry completely before applying the next. This method ensures the patch adheres well and prevents sagging or uneven areas in the future.
Maintaining Drywall Integrity
Regular Inspection
Conduct regular inspections of your drywall for any signs of damage. Early detection can often prevent bigger problems and improve the longevity of your drywall. Detecting and correcting any damage early will help avoid significant repairs.
Preventative Measures
Taking preventative measures like ensuring proper humidity levels and avoiding excessive impacts can drastically reduce the likelihood of drywall problems. Maintaining appropriate humidity is an crucial preventative measure.
In conclusion, mastering drywall patching requires a methodical approach, understanding varied repair techniques, and utilizing the right tools. By following the steps outlined in this guide, you can confidently tackle any drywall imperfections and achieve a flawless finish. For professional assistance or more intricate repairs, consult a qualified drywall contractor. Ready to take on your next drywall project? Learn more now and get your repairs underway!